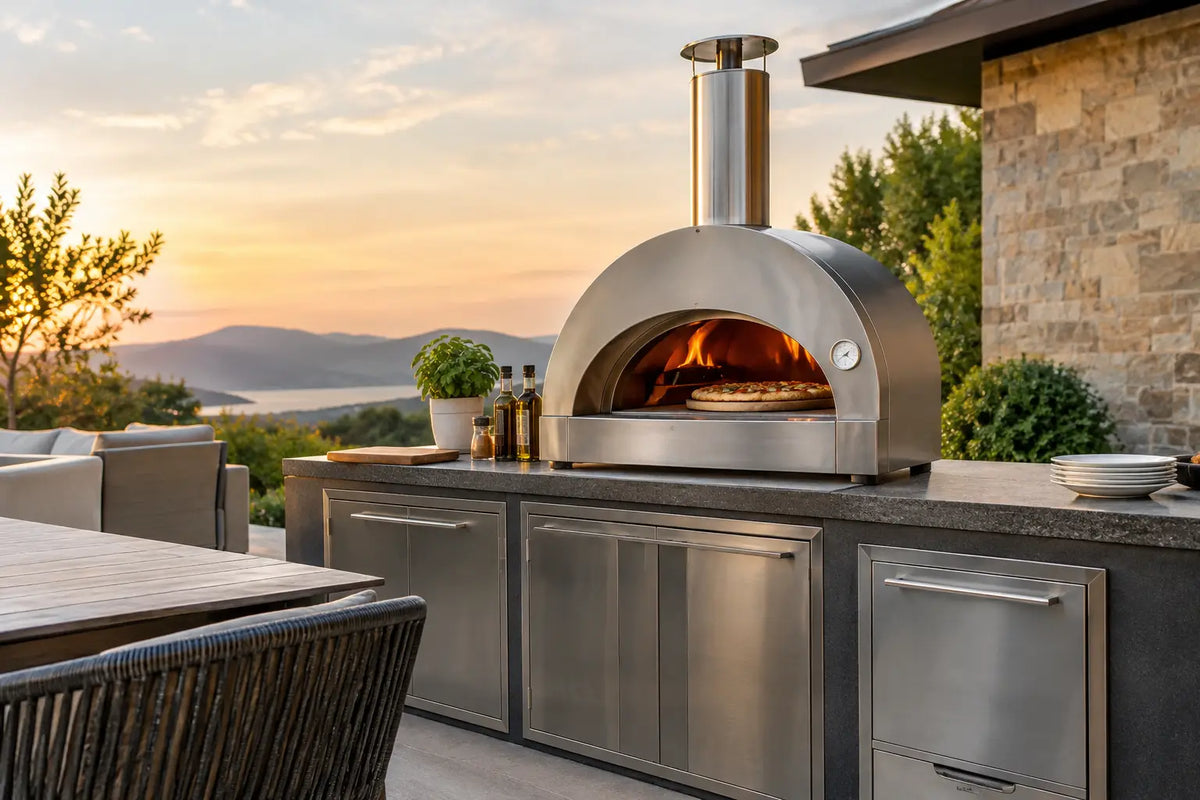
A luxury outdoor kitchen should feel permanent from the first dinner service, not like a collection of cabinets placed on a patio. Knowing how to secure patio modules protects the clean architectural lines, appliance performance, and long-term value of your investment. The goal is not always to bolt every module permanently to the ground. It is to create a stable, level, connected installation that remains composed through use, weather, and seasonal movement.
For pre-assembled outdoor kitchen modules, proper site preparation does most of the work. Once the surface, connections, and utilities are handled with precision, installation becomes faster, cleaner, and far more predictable than a traditional masonry build.
Start With a Surface Worth Building On
Patio modules are only as secure as the foundation beneath them. A visually attractive terrace can still be unsuitable if it has noticeable slope, loose pavers, drainage issues, or settlement. Before delivery, inspect the proposed location with the same care you would give an indoor kitchen floor.
A poured concrete slab is usually the most dependable choice for a large outdoor kitchen, especially where heavy grills, stone countertops, refrigeration, and multiple modules are involved. It provides consistent support and makes precise leveling easier. Existing concrete can perform just as well if it is structurally sound, free of significant cracking, and reasonably flat.
Porcelain pavers, natural stone, and concrete pavers can also support modular kitchens beautifully, but they require closer attention. The paving system must sit on a properly compacted base and should not rock under concentrated weight. Individual pavers that move or settle may eventually pull a straight kitchen run out of alignment.
Deck installations require a different assessment. A wood or composite deck may look substantial but still need structural reinforcement beneath the kitchen footprint. Confirm its load capacity before positioning appliances, countertop modules, and a fully stocked refrigerator. For rooftop terraces and balconies, involve the building professional responsible for structural approval. A premium installation should never rely on assumptions about weight limits.
Level the Modules Before You Join Them
Leveling is the most important step in securing patio modules. It affects more than appearance. A module that leans slightly can cause doors and drawers to drift, countertops to misalign, grill lids to sit unevenly, and water to collect where it should not.
Begin by establishing the highest point of the patio. Outdoor surfaces are often intentionally pitched away from the home for drainage, so a kitchen cannot simply follow the slope. Use a long spirit level or laser level to assess the full kitchen footprint, not just each cabinet position in isolation.
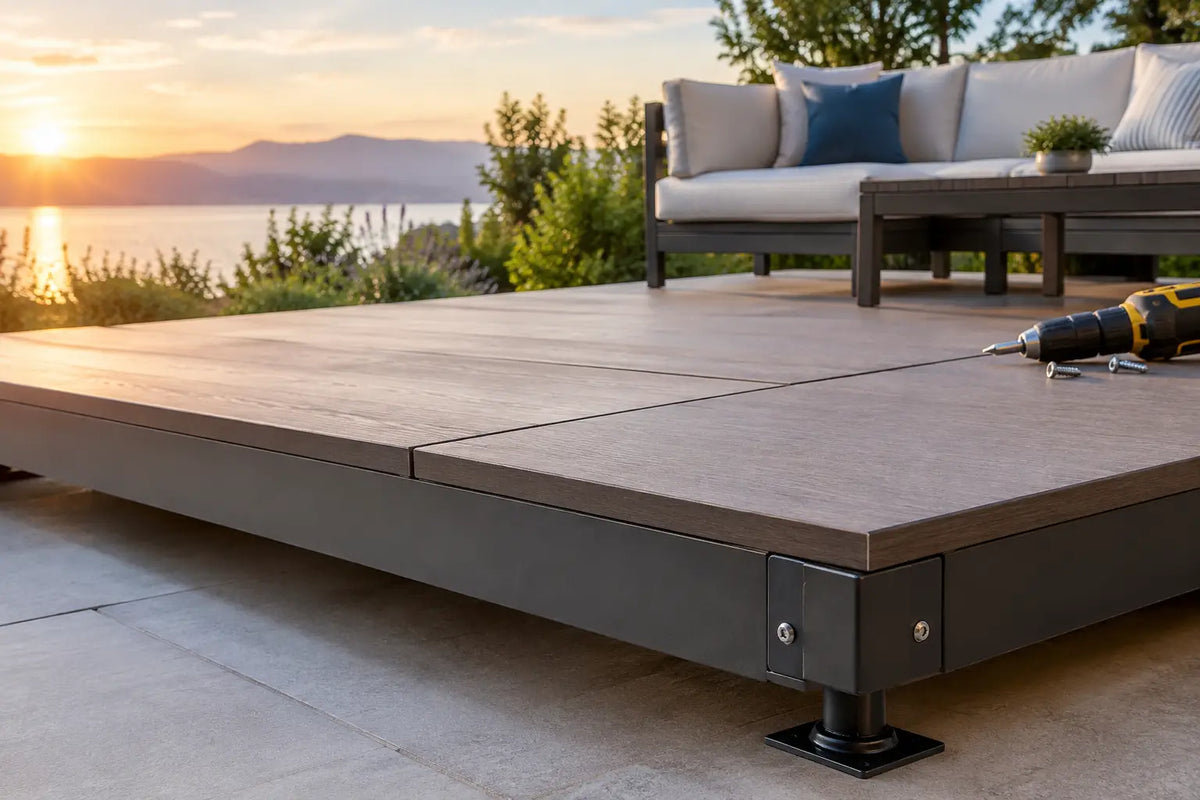
Most quality modules use adjustable feet or leveling supports. Adjust these incrementally, working from one end of the run to the other while checking both front-to-back and side-to-side alignment. Avoid raising adjustable feet farther than the manufacturer permits. If the patio slope is substantial, the better answer may be a purpose-built plinth, a leveling frame, or site correction rather than forcing the modules to compensate.
Leave enough clearance under the units for airflow and cleaning where the design calls for it, but do not create a gap so large that the kitchen appears to float. The result should feel integrated with the patio, with crisp countertop lines and stable, confident footing.
Do not level with loose shims
Loose wood scraps, tile offcuts, or improvised wedges are not a luxury solution. They can compress, absorb moisture, slip, or deteriorate over time. Use the module’s integrated leveling system or durable, non-compressible shims specified for exterior use. If shimming is needed extensively, revisit the base rather than concealing a site-preparation problem.
Connect Modules Into One Composed Kitchen
Individual modules may be stable on their own, but a multi-unit outdoor kitchen performs best when its cabinets are joined into a single aligned composition. Factory-engineered connection points typically secure adjoining side panels, preventing the modules from separating when drawers are opened, appliances vibrate, or guests lean against the counter during a gathering.
Set the modules in final order before connecting anything. Check countertop height, front faces, reveals, and rear clearances. Then use the supplied brackets, bolts, or connector hardware according to the installation instructions. Tighten connections only after the full run is level and visually aligned. If you lock one pair together too early, it can make it harder to correct the next module.
For L-shaped or U-shaped layouts, measure the corner carefully. Small inconsistencies become highly visible where countertop seams meet. Maintain the required service access around grills, refrigerators, gas cylinders, and electrical equipment. A kitchen can look built-in without making future maintenance impossible.
ELEEXA modular kitchens are designed to arrive pre-assembled so the installation team can focus on this final stage of positioning, leveling, and connection rather than spending days constructing cabinetry on site.
Decide When Ground Anchoring Is Necessary
Not every patio module needs to be anchored directly into concrete. In many residential installations, the combined weight of properly leveled, interconnected modules is sufficient, particularly when the kitchen sits on a stable slab in a sheltered backyard or covered terrace. Permanent anchoring can also make future reconfiguration more difficult.
That said, ground anchoring is the right decision in certain conditions. Consider it when the installation is exposed to high winds, located on an upper-level terrace, used in a hospitality setting, or positioned where frequent public contact could shift the modules. Anchoring may also be appropriate for freestanding islands with a large cantilevered countertop or layouts that include tall elements vulnerable to lateral movement.
Use only approved anchoring points and hardware suited to the substrate. Concrete anchors, for example, require the correct drill depth, edge distance, and fastener rating. Drilling through a patio without understanding waterproofing, radiant heating, or utility routes can create a far more expensive problem than an unsecured cabinet.
If the surface is tiled, avoid drilling through a finished tile merely because it seems convenient. A qualified installer can determine whether anchoring through grout joints, beneath a concealed toe kick, or into a structural base is possible without compromising the patio finish. The cleanest installation is often the one where security hardware remains entirely out of sight.
Protect the Kitchen From Water and Movement
Weather-resistant materials are essential, but thoughtful placement still matters. Secure modules away from standing water, downspout discharge, and areas where snowmelt repeatedly pools. Water that sits beneath a kitchen can affect the patio base, encourage staining, and complicate cleaning.
Maintain the drainage path already built into the patio. Do not block it with a continuous base, a solid kick plate, or poorly placed outdoor rugs. If water is moving toward the kitchen rather than away from it, correct that condition before installation.
Seasonal movement is another practical consideration. In climates with freeze-thaw cycles, patios and pavers can shift slightly from year to year. A modular kitchen has an advantage here because its level can be checked and adjusted without demolishing a built-in structure. Inspect the feet, connectors, and countertop joints at the start of each outdoor season, especially after a harsh winter.
Secure Utilities Without Trapping Future Service
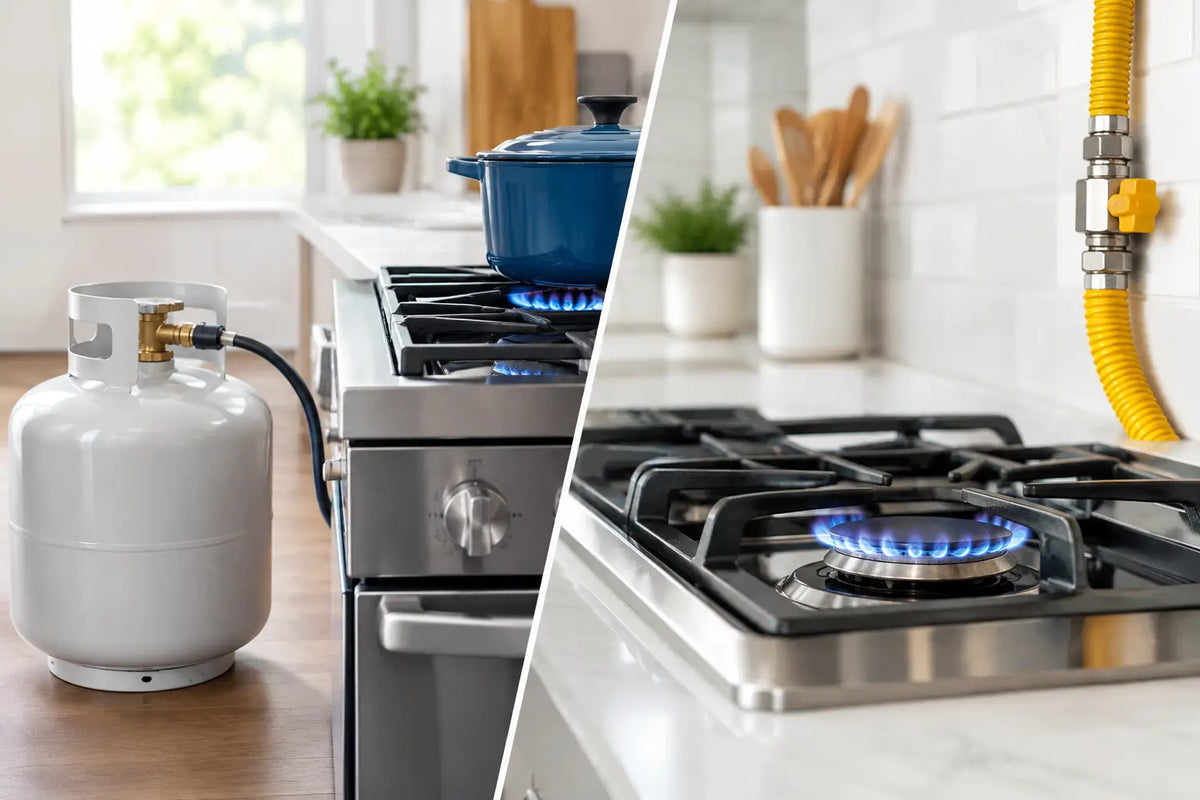
Gas, electricity, water, and drainage should be planned before the modules are moved into final position. A beautifully secured kitchen becomes frustrating if an outlet is inaccessible, a gas shutoff cannot be reached, or a refrigerator cannot be serviced without dismantling the entire run.
Have licensed professionals complete utility connections in accordance with local code and appliance requirements. Gas lines should be pressure-tested, electrical circuits should have appropriate outdoor protection, and water connections should include the shutoff and winterization measures appropriate for your region. Keep hoses, cords, and connections protected from abrasion and heat sources.
Do not use the cabinetry to hide unsafe work. A refined installation conceals utilities while preserving access panels and service clearances. This is particularly critical around built-in grills, where ventilation requirements and manufacturer-specified spacing are not optional design details.
A Final Check Before the First Gathering
Once the patio modules are leveled, connected, and supplied, test the kitchen as it will be used. Open every drawer fully, check door alignment, operate appliance lids, and confirm that the countertop feels solid at its edges and corners. Run water where applicable, test refrigeration, and verify that grill clearances remain unobstructed.
Then look at it from across the patio. The front lines should be straight, the countertop should read as one deliberate surface, and the kitchen should feel anchored to the architecture of the home. That quiet sense of permanence is the standard worth securing before the first bottle is opened and the first guests arrive.