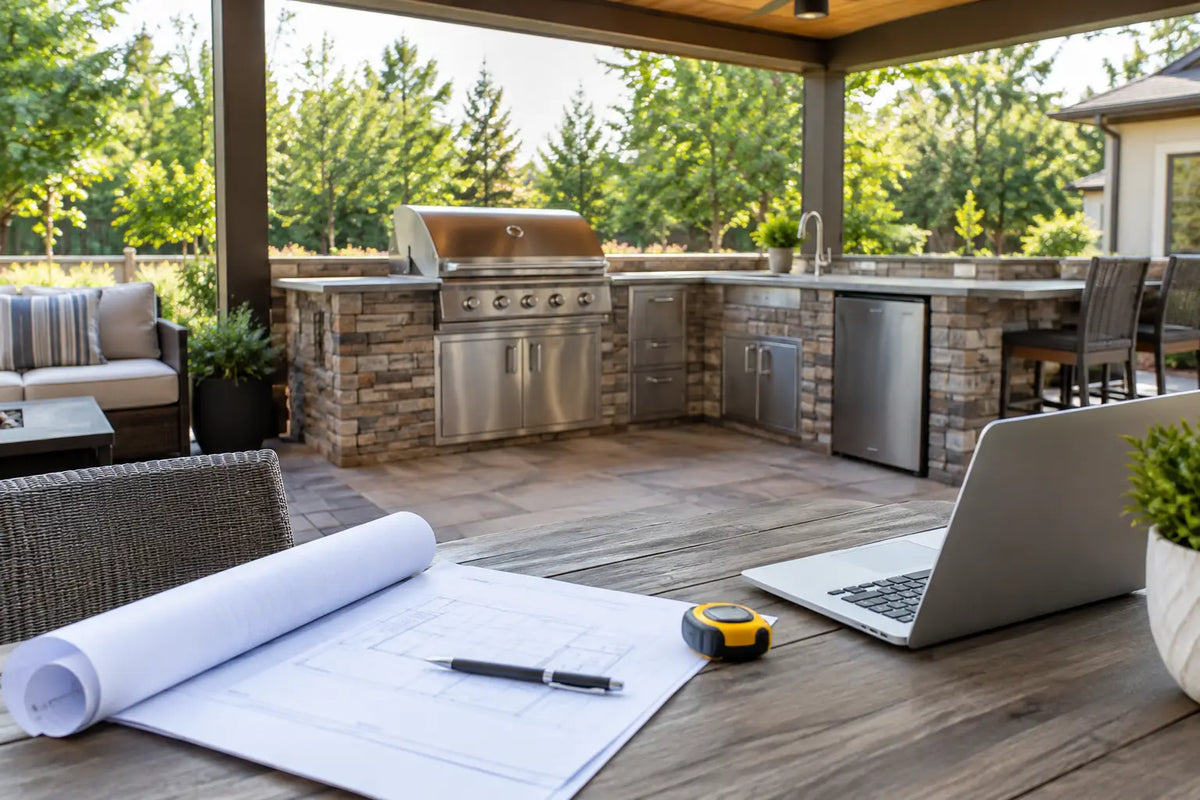
A luxury outdoor kitchen can look perfectly composed on a drawing, then feel immediately wrong if one cabinet door drifts open or a countertop line falls out of alignment. Knowing how to level a patio kitchen is not a minor installation detail. It is the foundation for precise cabinetry, proper appliance operation, clean drainage, and the polished architectural finish a premium outdoor space deserves.
A patio rarely arrives perfectly level. It may have been designed with a gentle fall to move rainwater away from the home, or it may have settled over time. That does not automatically mean the site is unsuitable for an outdoor kitchen. It means the installation must respect both the patio's drainage strategy and the tolerances of the kitchen modules.
Start With the Patio, Not the Cabinets
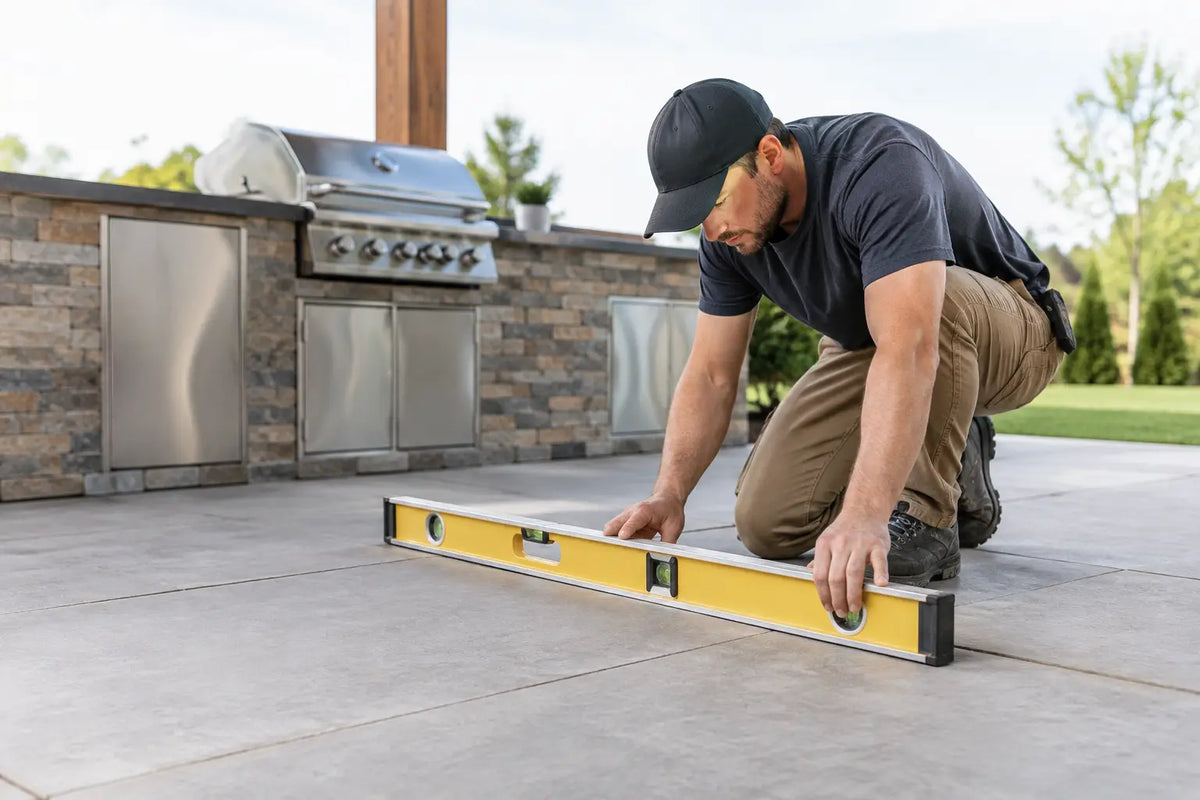
Before placing a single module, inspect the full footprint of the proposed kitchen. Measure its width and depth, then check the area with a long straightedge and a quality spirit level, or preferably a laser level. Check in several directions: front to back, side to side, and diagonally. A patio can appear flat while carrying a twist that becomes obvious only when multiple cabinets are aligned.
Record the highest and lowest points rather than relying on a single reading. This gives your installer a clear picture of whether the variation is a gentle, consistent slope or a localized dip, ridge, or cracked section. The solution differs in each case.
A modest fall away from the house is usually desirable. It protects the building and discourages standing water around the kitchen. The goal is not always to make the entire patio dead level. The goal is to create a stable, accurately leveled plane for the kitchen while preserving responsible water management around it.
Understand the tolerance that matters
Premium modular kitchens are engineered for alignment, but they should not be asked to compensate for major ground movement. Adjustable feet can accommodate small differences and are ideal for fine tuning. They are not a substitute for repairing a badly uneven slab, loose pavers, or a patio with structural settlement.
As a practical rule, minor variations across the kitchen footprint can often be corrected at the module level. Pronounced slopes, rocking pavers, broad depressions, or surface cracking call for patio work first. Skipping that step may save time on installation day, but it creates a costly visual and functional compromise later.
How to Level a Patio Kitchen Without Blocking Drainage
The best approach depends on the patio construction. Concrete, porcelain pavers, natural stone, composite decking, and rooftop terraces all behave differently. The first principle remains constant: establish stable support beneath every load-bearing point, then level the kitchen itself with deliberate, measured adjustments.
For a sound concrete slab with a gentle slope, position the modules and use their adjustable leveling feet to bring the cabinet frames into plane. Work from the highest point outward. Raising the lower side is generally safer and cleaner than trying to force a cabinet down onto an uneven surface. Once the first module is level, align each neighboring module to it rather than independently leveling every cabinet.
For paver patios, test every support point before installation. A paver that rocks underfoot will not become stable under a heavy grill module. Reset unstable pavers, compact the base where needed, and replace cracked pieces before the kitchen arrives. Small, purpose-made noncompressible shims may be appropriate beneath a leveling foot when they sit on a secure surface, but improvised wood scraps, stacked tiles, or loose stones are not a premium solution. They absorb moisture, shift, and undermine the installation over time.
Decks require a different level of scrutiny. Confirm that the framing and surface are rated for the concentrated load of cabinetry, countertops, refrigeration, and a fully equipped grill. Adjustable feet should bear on sound decking or properly designed load-spreading pads, not on weak boards or unsupported edges. On a rooftop terrace, involve the building professional responsible for structural capacity and waterproofing before making any alteration to the surface.
Use the Right Installation Sequence
Leveling is easiest when it follows a controlled sequence. Rushing to connect utilities or install countertops before cabinet frames are aligned turns a straightforward job into a frustrating one.
Begin by placing the primary module, often the grill or central cabinet, at the highest practical point of the layout. Adjust its feet until it is level side to side and front to back. Confirm the result with a level placed on the cabinet frame, not only on the patio or a removable shelf.
Next, bring the adjoining module into position with a narrow, consistent joint between cabinets. Adjust its feet until the top edges are flush with the first module. Check the vertical faces as well. A countertop can look level while cabinet fronts reveal a noticeable step or uneven reveal.
Continue across the full run, rechecking the entire assembly every few modules. Long kitchen configurations magnify tiny errors. What begins as a barely visible difference at one end can become a clear slope by the final cabinet.
Only after the frames are level and aligned should the modules be secured together according to their installation instructions, followed by countertop placement and appliance integration. If the kitchen includes doors, drawers, or refrigeration, test them before finalizing the installation. Smooth door gaps, self-closing drawers, and a refrigerator door that stays where it is placed are practical confirmation that the structure is properly set.
When Adjustable Feet Are Not Enough
There is a point where cabinet adjustment stops being the right answer. If feet are extended excessively, the modules may lose their intended visual proportion and become more vulnerable to movement. Large gaps beneath cabinetry can also collect leaves, debris, and moisture, compromising the tailored look of the space.
Repair or resurface the patio when the surface has significant settlement, deep low spots, widespread cracking, or poor drainage. A concrete professional may recommend localized patching, slab grinding, a bonded leveling compound, or replacement depending on the condition and the climate. For pavers, lifting and re-laying the affected area is often the more durable solution.
This is also the moment to address water. If rain runs toward the home, pools directly beneath the kitchen, or drains into a location that will be difficult to clean and inspect, correct that condition before the cabinetry is installed. A sophisticated outdoor kitchen should simplify entertaining, not create a hidden maintenance zone.
Protect Utilities and Appliance Performance
Leveling affects more than appearance. Built-in grills need stable support for safe operation and clean lid alignment. Refrigeration units depend on level placement for reliable door operation and, in some cases, proper condensate management. Sink plumbing requires a planned drain route with the correct fall, which is separate from the level of the cabinet itself.
Do not use the kitchen's leveling feet to solve a plumbing slope problem. Keep cabinets accurately level, then design the drain line independently with a qualified professional. The same distinction applies to gas and electrical connections. Utilities should have enough protected slack and proper routing so that minor final adjustments do not strain a connection.
For pre-assembled modular systems, the advantage is clear: the cabinet architecture, appliance openings, and exterior finishes are already engineered as a unified whole. ELEEXA modules are designed to reduce installation complexity, but even the finest pre-assembled kitchen performs best on a properly prepared surface.
Final Checks Before You Call It Finished
Once the installation is complete, inspect the kitchen as both a builder and a host. Run a level across the full countertop line. Open every door and drawer. Confirm that the grill sits squarely in its opening, refrigeration doors seal correctly, and there is no rocking when pressure is applied to any cabinet corner.
Then look at the space from several angles. The most refined installations do not advertise the work that went into them. Countertops read as one continuous line, cabinet joints are disciplined, and the kitchen feels permanently at home on the patio.
A level outdoor kitchen is not about chasing perfection for its own sake. It is how you protect a serious investment, preserve the performance of premium appliances, and create an outdoor setting that feels as considered as the home it extends.