
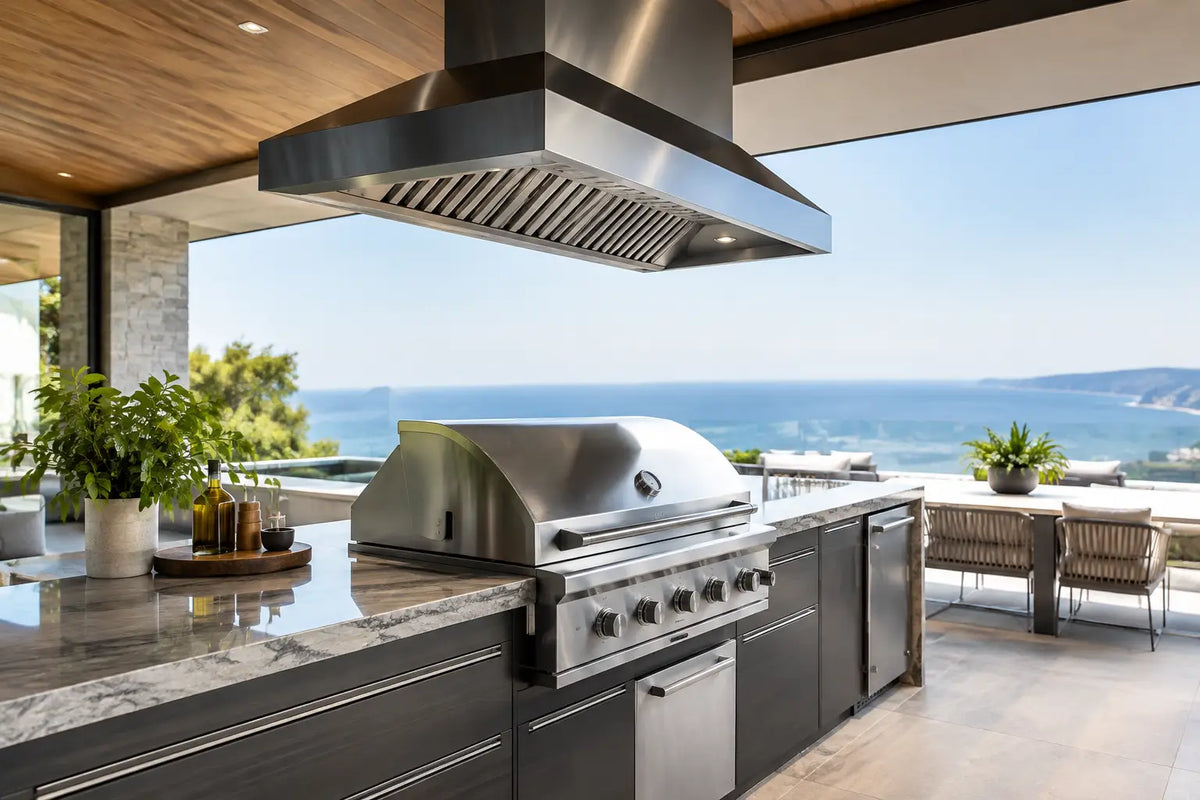
A beautifully integrated grill should never feel like an afterthought inside an outdoor kitchen. Yet the cabinetry surrounding it has a serious engineering role: it must manage heat, supply combustion air, and prevent gas from collecting where it does not belong. This grill island ventilation guide explains how to create a safer, more refined cooking space without compromising the clean architectural lines that make a luxury outdoor kitchen feel complete.
Ventilation is not a decorative detail. It is part of the foundation for a built-in gas grill installation, alongside manufacturer-required clearances, correct gas connections, and appropriate materials. The exact requirements depend on the grill, fuel type, island construction, and local regulations. Start with the grill manufacturer’s installation manual, then have a qualified outdoor kitchen installer or licensed gas professional confirm the final plan.
Why Grill Island Ventilation Matters
A freestanding grill is exposed on all sides. A built-in grill is surrounded by cabinetry, countertops, drawers, and utility compartments. That enclosed construction creates a more polished result, but it also changes how heat and gas behave.
Propane is heavier than air. If a leak occurs inside a closed grill island, propane can settle at the bottom of the enclosure and accumulate. Natural gas is lighter than air and tends to rise, but it still requires an appropriate route to disperse rather than becoming trapped in an enclosed space. Vent openings provide passive airflow that helps reduce this risk.
Heat is the second consideration. A premium built-in grill produces serious temperatures at the firebox, hood, rear, and sides. Without the clearances and insulation specified by the grill manufacturer, adjacent cabinetry can discolor, warp, or become unsafe. Ventilation supports airflow, but it does not replace a proper insulated jacket, heat shield, or required noncombustible construction.
The goal is simple: your grill island should look tailored and perform with the confidence of a professionally planned appliance installation.
Grill Island Ventilation Guide: The Core Design Rules
Every grill brand publishes installation requirements for its models. These instructions should lead the design process, not be checked after the countertop has been fabricated. A grill’s cutout dimensions tell you where it fits. Its installation manual tells you what makes that fit safe.
Use high and low vents for enclosed gas compartments
For most built-in gas grill islands, ventilation openings are placed both high and low in the enclosure. This arrangement supports natural air movement and accounts for the behavior of different fuels. Low-level vents are particularly essential where propane could collect, while high-level vents allow rising heat and lighter gases to escape.
The required vent area, number of vents, and placement vary by appliance manufacturer and fuel configuration. Do not assume one vent size works for every grill island. A compact propane cylinder cabinet and a large masonry kitchen island have different ventilation needs, and some manufacturers specify dedicated requirements for each.
Vent grilles should remain permanently open. Avoid louvers that can be closed, mesh so fine that it restricts airflow, or decorative panels that obscure the openings. A vent is only useful when air can move through it freely.
Keep the island cavity open enough to breathe
A grill cabinet can look completely finished from the outside without becoming an airtight box inside. Plan the framework, appliance supports, service openings, and internal dividers so they do not block the airflow path between vents.
This is especially relevant when adding pull-out trash units, drawers, refrigerated cabinets, or a propane tank compartment. Beautiful storage should not divide the island into isolated cavities that cannot vent. If compartments are separated, each enclosed area may need its own ventilation strategy.
Respect appliance clearances before choosing finishes
Stone, porcelain, stainless steel, aluminum, and weather-resistant composite panels can create an exceptional outdoor kitchen, but no premium finish changes an appliance’s clearance requirements. The grill manual will specify distances to combustible surfaces, countertop overhang limits, rear clearance, and whether an insulated jacket is mandatory.
A noncombustible countertop does not automatically make the cabinetry below safe. Framing, liners, adhesives, electrical wiring, and stored items can all be affected by heat. When a grill is installed in combustible framing, the manufacturer may require an insulated jacket designed for that exact grill series. Treat it as a core component, not an optional upgrade.
Propane and Natural Gas Need Different Planning
The cleanest grill island designs begin with a fuel decision. Both propane and natural gas can deliver exceptional outdoor cooking performance, but their installation priorities differ.
Propane cylinder storage
A propane cylinder belongs in a dedicated, ventilated compartment that is separate from ignition sources and electrical components where required. The compartment should allow the cylinder to stand upright, remain accessible for exchange or refilling, and avoid contact with hot surfaces.
Never store a spare propane cylinder inside the grill island. A single cylinder cabinet engineered for the connected tank is one thing; turning adjacent storage into a fuel locker is another. Keep the cabinet free of loose rags, cleaners, packaging, and entertaining supplies that could block vents or complicate service.
Natural gas line access
Natural gas eliminates cylinder changes and can be an excellent choice for a permanent outdoor kitchen. It still requires a correctly sized supply line, an accessible shutoff valve, and a professional leak test. The gas connection must remain serviceable after installation. A built-in grill should not require dismantling an entire island to reach a shutoff or inspect a flexible connector.
Because natural gas rises, high-level ventilation is particularly relevant in enclosed sections. Follow the grill manufacturer’s guidance and local code requirements rather than relying on general assumptions about fuel behavior.
Do You Need a Vent Hood Above an Outdoor Grill?
Not every outdoor grill island needs an overhead hood. In an open backyard setting with generous clearance above and around the grill, passive cabinet ventilation and the grill’s required clearances may be the central considerations.
The answer changes when the grill sits beneath a roof, pergola, covered lanai, balcony, or enclosed patio. Smoke, grease vapor, heat, and combustion byproducts can collect overhead, affect finishes, and make the cooking zone uncomfortable. A properly specified outdoor-rated ventilation hood may be needed, especially under a fully covered structure.
This decision depends on the grill’s output, canopy height, surrounding walls, prevailing wind, and local building rules. Indoor hoods are not automatically suitable outdoors. An outdoor hood must withstand weather exposure and be designed with compatible ducting, electrical protection, and grease management. For hospitality projects and high-output grills, professional mechanical design is often the right standard.
Design Details That Protect the Finished Look
The best ventilation strategy is one you barely notice. Choose vent grilles that complement the appliance suite and cabinet finish, then place them where they preserve the island’s visual rhythm while remaining unobstructed. Stainless vents can coordinate with a grill fascia; powder-coated options can disappear into darker architectural panels.
Avoid positioning vents where irrigation spray, standing water, or landscaping debris will constantly obstruct them. On a pool terrace or coastal property, select corrosion-resistant components and include ventilation checks in regular maintenance. Luxury should feel effortless, but outdoor performance is built through thoughtful details.
For modular outdoor kitchens, factory-engineered appliance bays offer a major advantage. The grill opening, support structure, ventilation provisions, and service access can be planned as one system rather than improvised across several trades. ELEEXA applies this integrated approach to reduce installation friction while preserving the exacting finish expected in a premium entertaining space.
Common Ventilation Mistakes to Avoid
Most costly issues begin with a design decision made too early or too casually. Avoid these four mistakes:
- Treating ventilation grilles as optional cosmetic accessories rather than safety components.
- Installing a propane cylinder in a sealed drawer, cabinet, or under-counter cavity without approved ventilation.
- Assuming countertop material removes the need for clearances or an insulated jacket.
- Blocking vents later with stored cushions, grill covers, bins, or landscaping.
A Smarter Installation Sequence
Begin with the grill model, fuel type, and site conditions. Confirm whether the cooking area is fully open, partially covered, or located beneath a structure. From there, establish the appliance cutout, insulated jacket requirements, utility routing, shutoff access, and vent locations before cabinet production or countertop templating.
The final installation should include a leak test, ignition test, clearance review, and confirmation that all vent openings are clear. If your project includes electrical appliances, refrigeration, lighting, or an overhead hood, coordinate those systems early rather than forcing them into an already completed island.
A luxury grill island earns its place through more than visual impact. When airflow, heat protection, fuel access, and fine materials are considered together, every gathering feels more relaxed - and the kitchen is ready to perform beautifully for years to come.